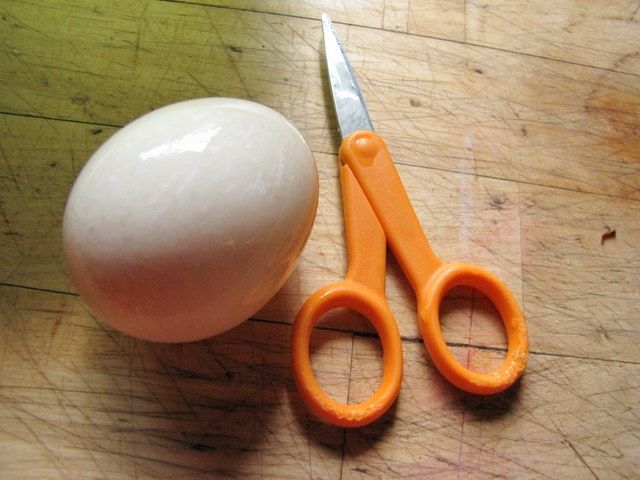
All the eggs we've used we ate for breakfast.... so, needless to say, we're getting a little sick of eggs for breakfast! Take your clean egg and a very sharp pair of scissors. I use my very sharp tipped Fiskars. Slowly 'drill' a tiny hole in the top of the egg with the scissor point. Once you're through, cut right through the egg and take enough off the top to fit a little goodie through the hole. You can clean up the edges by gently chipping away til it's fairly neat (not really a concern as it'll be covered later). Make sure you get all the chipped shell off the white before dumping your egg into a bowl for eating. Now clean out your shell and let it dry.
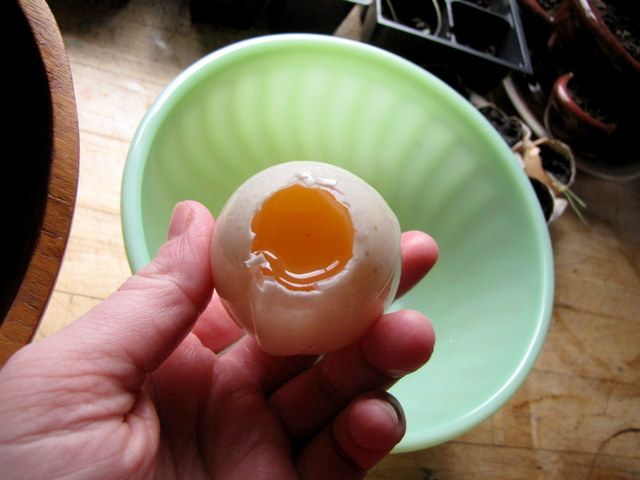
Alternately, this is also a great way to make panoramic eggs. Just do this to the front of the egg instead of the top, as below. To see how to finish these up without the decoupage, skip down toward the bottom.
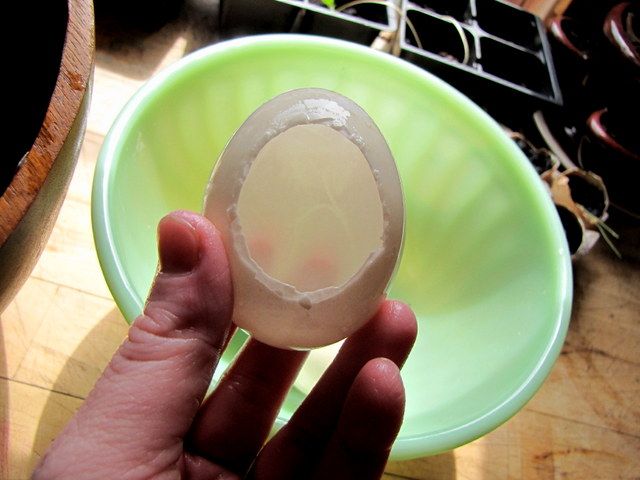
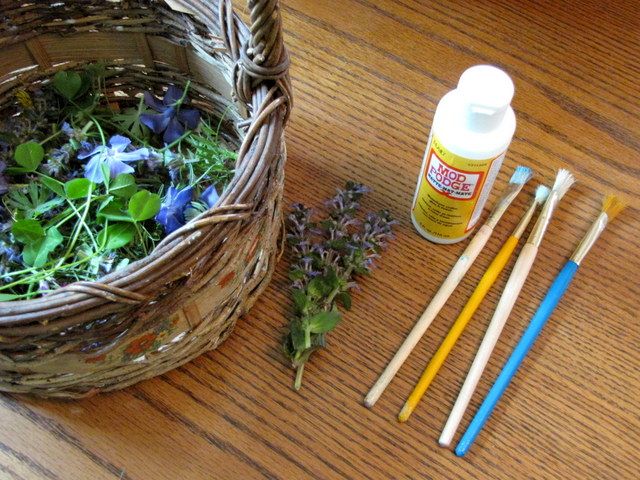
Now for the decoupage part. Of course, you can decorate your eggs any way you want. We also dyed some with food and plants and are going to do more this way (just fill them with water so they stay under the dye bath) but the girls and I used some of the lovely flowers and weeds they're always picking to dress some of them up a bit. All you'll need is;
eggs
flowers and leaves, clovers, etc..., preferably ones that can be flattened
Modge Podge
paint brushes
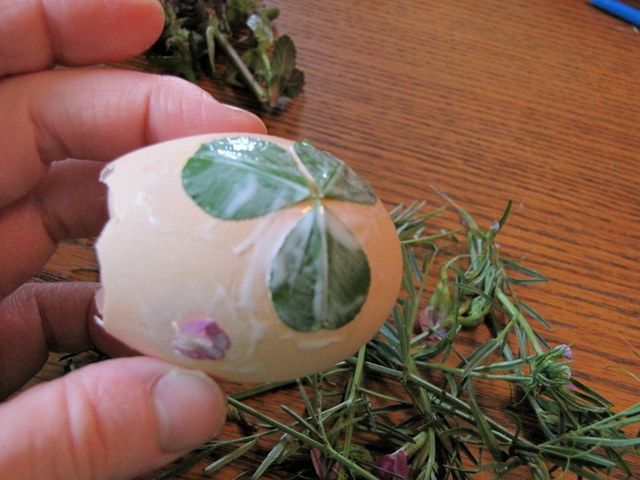
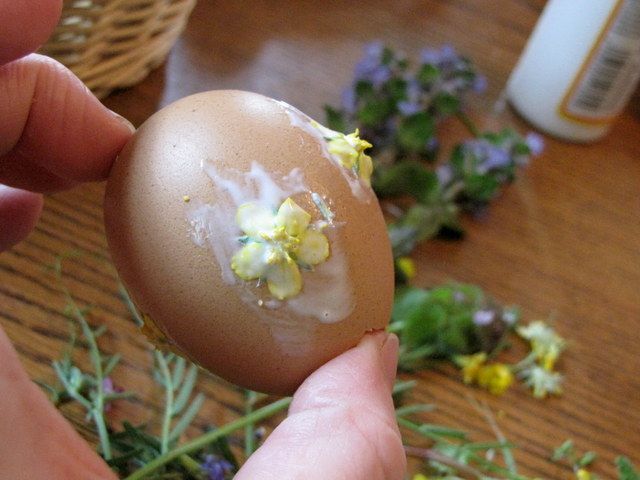
Choose your flowers, remove any stem or backing and flatten them the best you can. Don't worry of they're not perfectly flat against the egg, the Modge Podge will hold them down anyway. Brush some of the Modge Podge directly on the egg where you want to place the flower, lay it down over the glue and then put another generous layer over that. Now, you may be tempted to just coat the whole egg. But I prefer not to so that the egg really cracks and opens. And don't worry about the white glue.. Modge Podge dries clear.

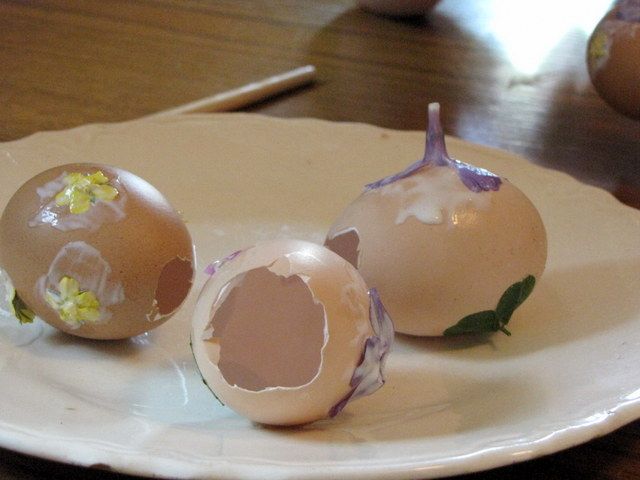
Lay them somewhere to dry. I prefer to use a glass or ceramic plate to a more porous egg carton to which I'm afraid it would stick as it drys. Let them dry thoroughly, preferably over night.
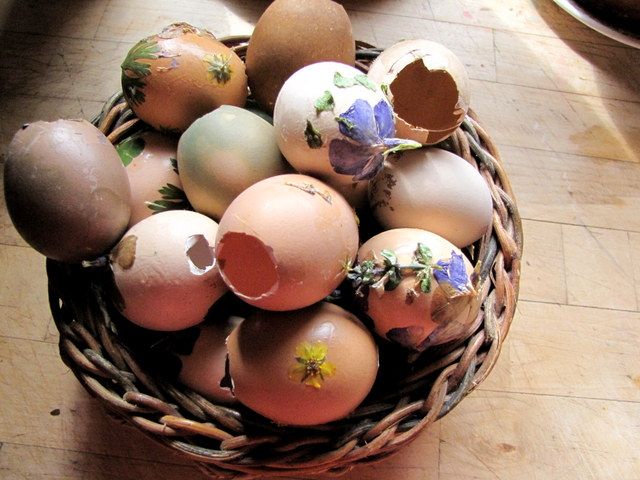
OK, now to the fillable eggs. You've got the top off and decorated and dried your eggs. From here you will need tissue paper cut just a little bigger than the egg opening and glue (gel glue, school glue, craft glue... whatever).
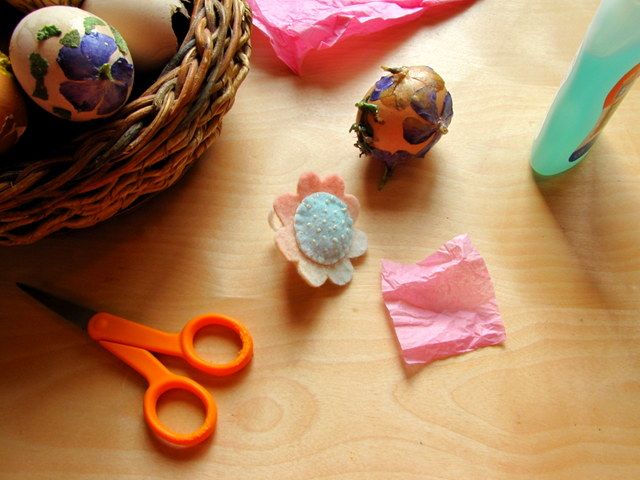
Don't forget to stuff it with your treats before sealing it!
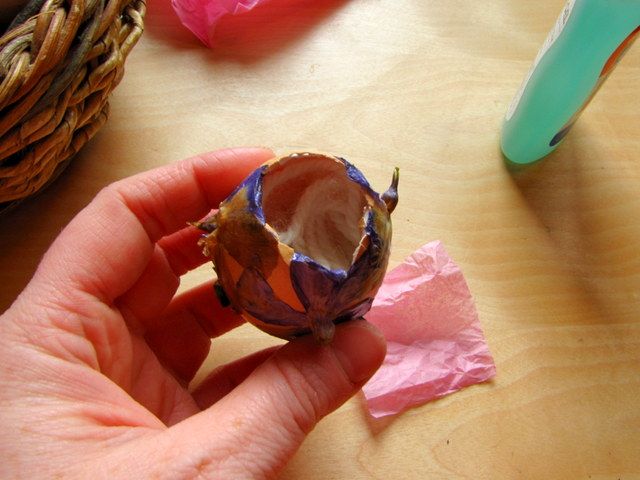
Apply a thin line of glue all around the edge of the hole and press the tissue square over it. Trim away any excess.
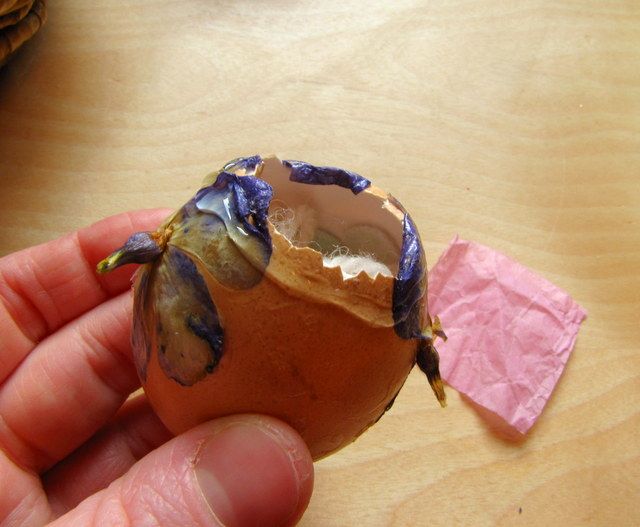
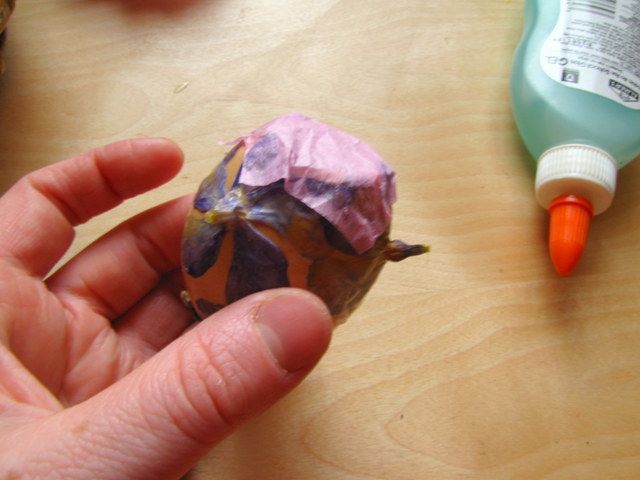
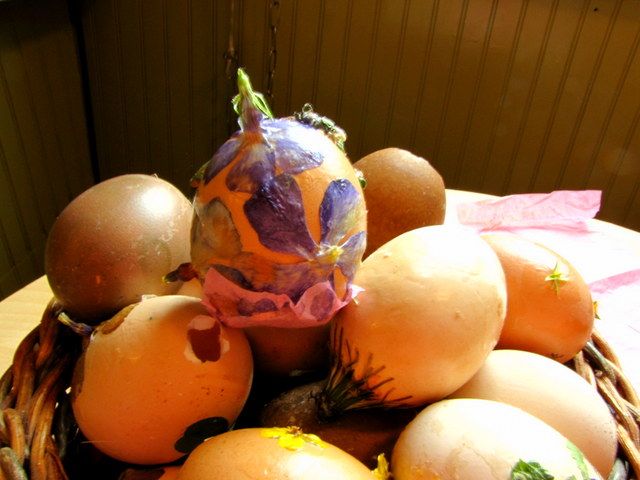
Just for fun, use an ugly egg to try it for yourself! It's quite satisfying to crack an egg and find a treat inside. But I also love to unwrap gifts I've just wrapped up, just to rip the paper off.
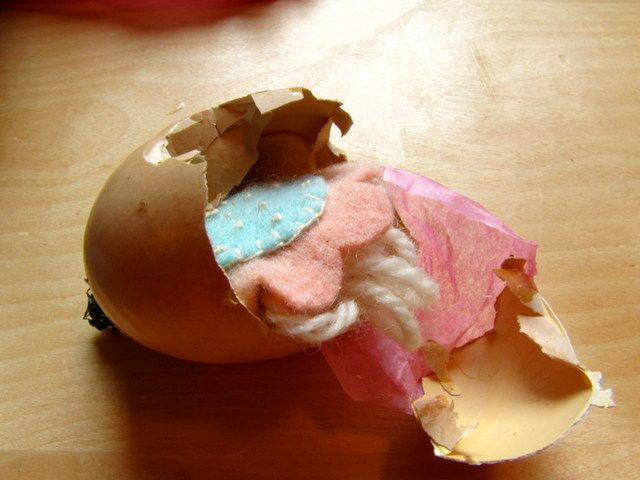
Now on Easter hide them all over the yard. I can't wait for the girls to open ours!


